
After you've made sales on CSFloat Market, you can withdraw your proceeds through bank transfers, crypto, and debit card depending on your country.
Currently our crypto withdraw process supports USDC through the Polygon network. We hope to expand the supported networks and currencies in the future.
This guide will explain the process of creating a Polygon-supported crypto wallet (if necessary), attaching it to your Stripe Express account on CSFloat, then issuing a payout on CSFloat and receiving the funds.
Why Use Polygon?
Polygon is a Layer-2 scaling solution for Ethereum that is able to provide substantially cheaper and faster transactions.
By using Polygon, transferring USDC costs ~$0.01 instead of >$4.00 in gas fees that you may experience on the main Ethereum network.
Polygon uses the same format of addresses as Ethereum such as 0xbE4e5FfDdef35A912a58a6968559FDead1ccc1BD but requires a crypto wallet that supports adding other networks.
Note that you cannot send USDC on the Polygon chain to a native Ethereum address that expects ERC-20 USDC unless it explicitly supports the Polygon network. You need to bridge it for native USDC first.
Why Use USDC?
USDC is a stable-coin created by Circle with a consortium of members such as Coinbase. Being a stable-coin, USDC is pegged to the US Dollar – meaning that 1 USDC is equivalent to $1 USD. Every USDC is backed by USD assets in order to ensure it's peg with monthly attestations.
USDC is one of the most commonly used crypto stable-coins, with a market cap of ~$40 billion.
By using a stable-coin, you don't have to worry about fluctuating currency prices such as using Bitcoin.
Step 1. Creating a Polygon Wallet
Option A) Using an Exchange (Easy)
The simplest way to use the Polygon network is by directly depositing your CSFloat withdraw into a crypto exchange that supports the Polygon network.
When should I use this option?
- It prevents having to create your own wallet, which is more complex
- You're OK with holding your funds on a custodial wallet (controlled by the crypto exchange)
- You're intending to exchange USDC for another crypto, this is a more direct path than a self-custody wallet.
How do I do it?
You need to use an exchange that directly supports the Polygon network.
For instance, Kraken and Coinbase are both examples of exchanges that support direct USDC Polygon deposits.
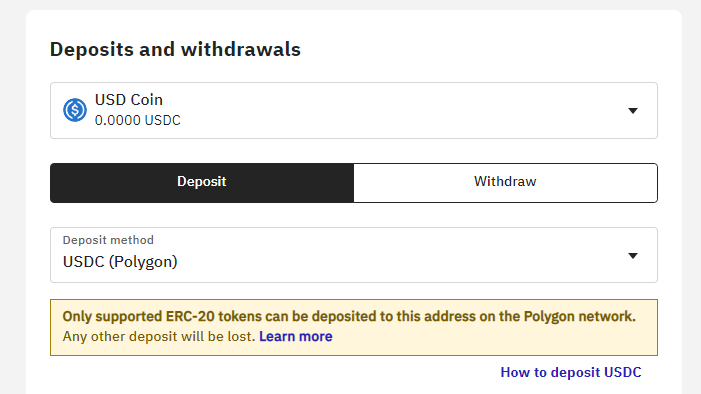
On your exchange of choice, make sure you select "Polygon" as the network.
For example, this is what it looks like on Kraken:
Afterwards, you can copy the wallet address it gives you and use it in the next step. Skip to Step 2.
Option B) Self-Custody Wallet (Not as Easy)
If you desire full control over your wallet, you can use your own self-custody crypto wallet that supports the Polygon network.
Of note, if you lose the keys to this wallet, your funds will be lost.
When should I use this option?
- It gives you full control of your crypto wallet without using an exchange
- You are confident and understand how Ethereum and Polygon work
- You understand that losing your wallet's passkey or private key will mean your funds are no longer recoverable
How do I do it?
Installing Metamask
Metamask is a popular Ethereum wallet that supports the Polygon network.
You can install it by going to https://metamask.io/download/ and choosing the platform of your choice (this tutorial will go over the Chrome extension).
Setting Up Your Wallet
After installing Metamask, you need to create a new wallet or import a secret phrase.
If you don't have an existing Metamask wallet secret or don't know what that is, choose "Create a Wallet"
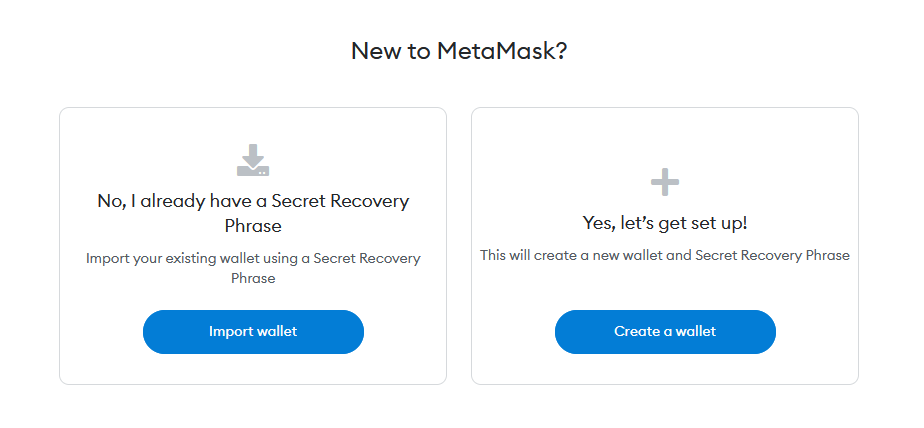
Afterwards, you'll need to setup a password and write down your private seed (keep this secure!).
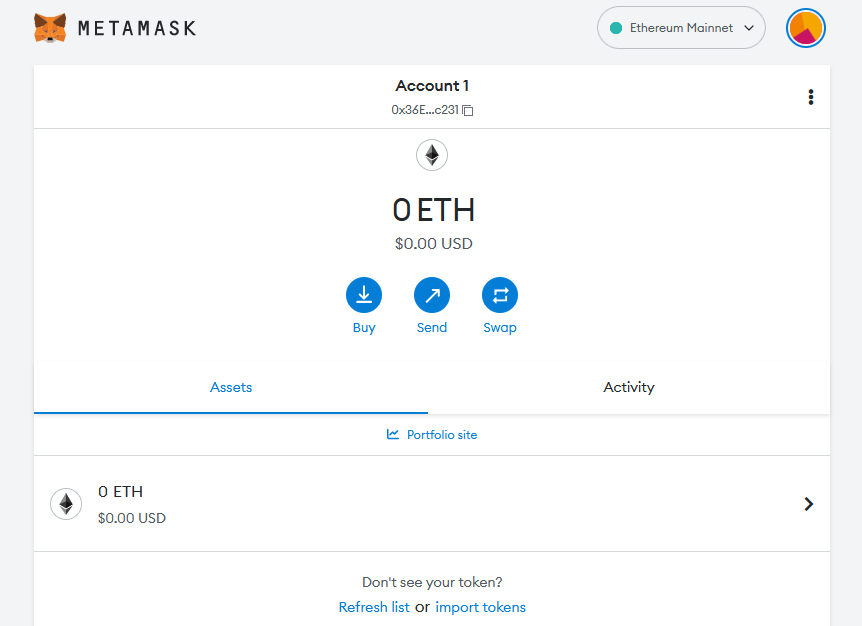
When you're done this step, you can view your newly created Ethereum wallet!
Adding Polygon to Metamask
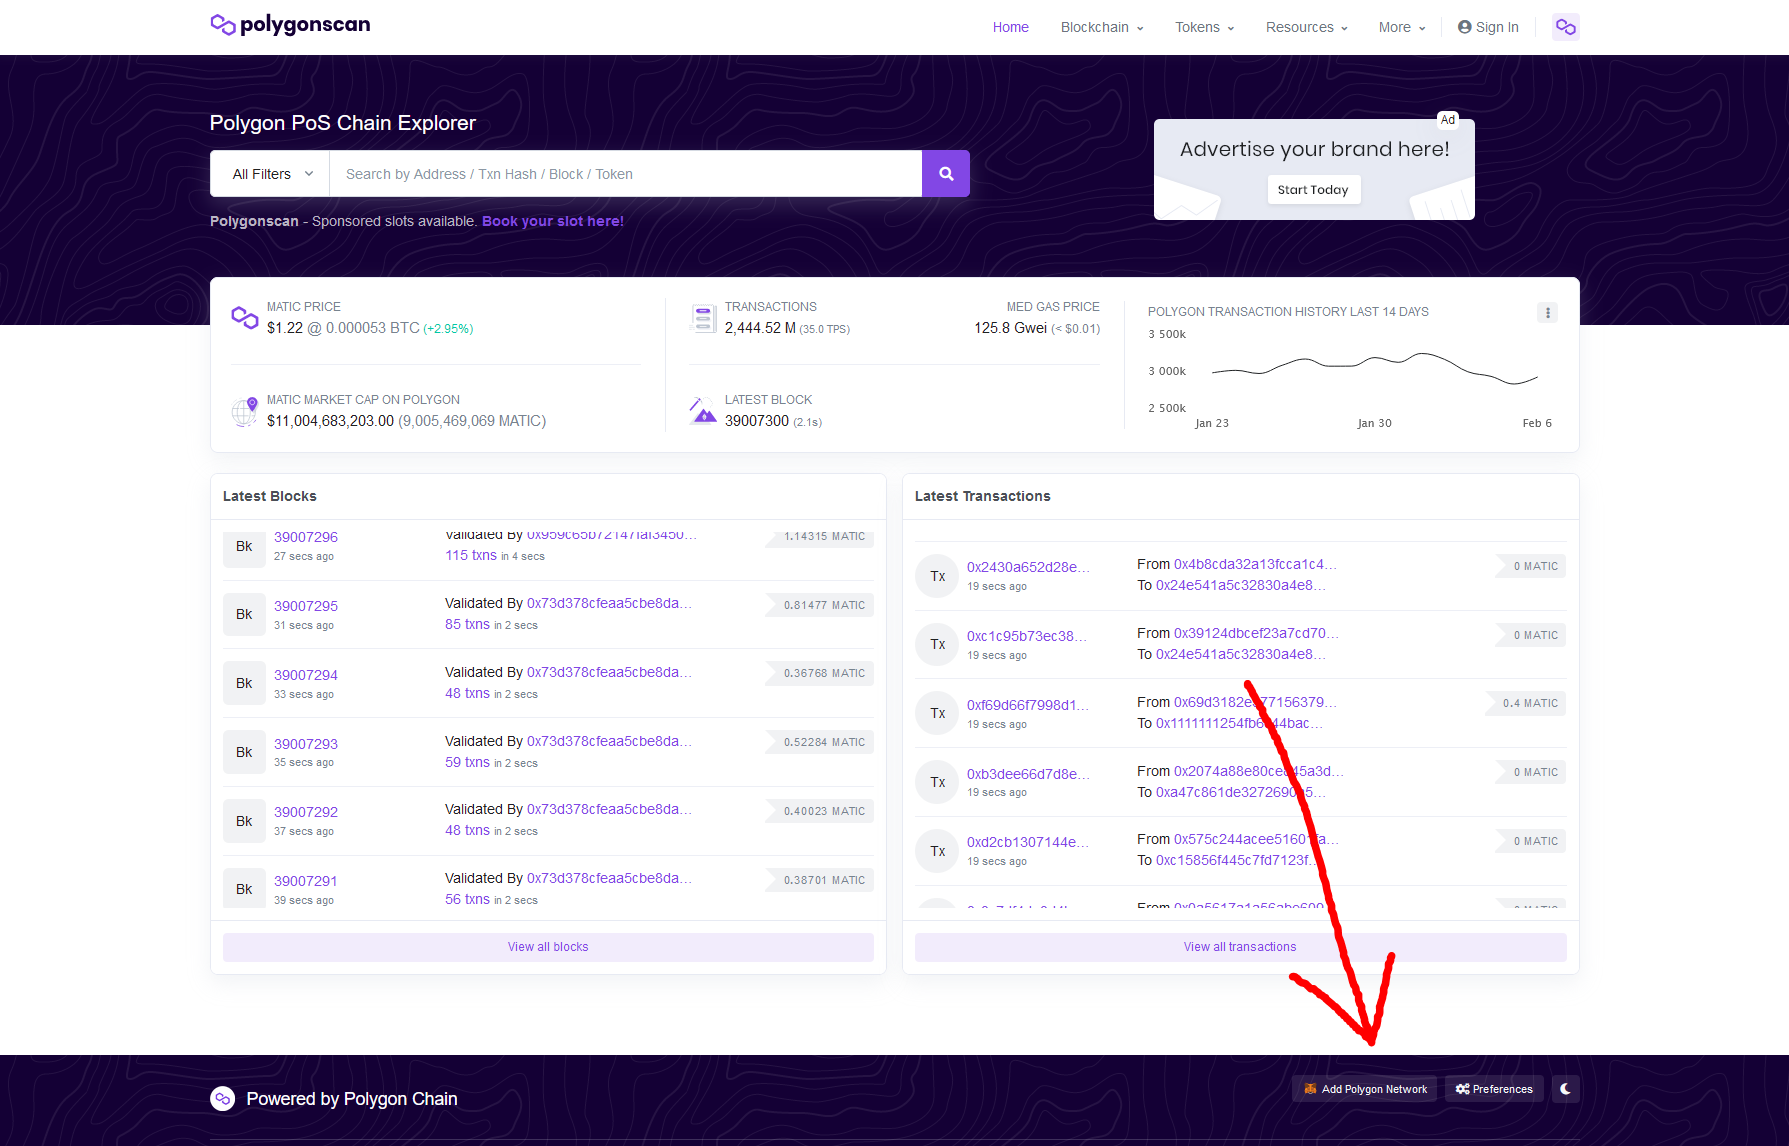
Now that your Ethereum wallet is up and running, we need to add Polygon support.
The simplest way to do this is by clicking "Add Polygon Network" at the bottom of https://polygonscan.com/
Alternatively, you can add it manually to Metamask by following their docs.
Afterwards, you can switch between the Polygon and main Ethereum network within Metamask.
Adding the USDC Polygon Contract to Metamask
You've got a Polygon-enabled wallet, but now you need to add the USDC token.
After this step, you'll be able to receive and send USDC on Polygon through your Metamask wallet.
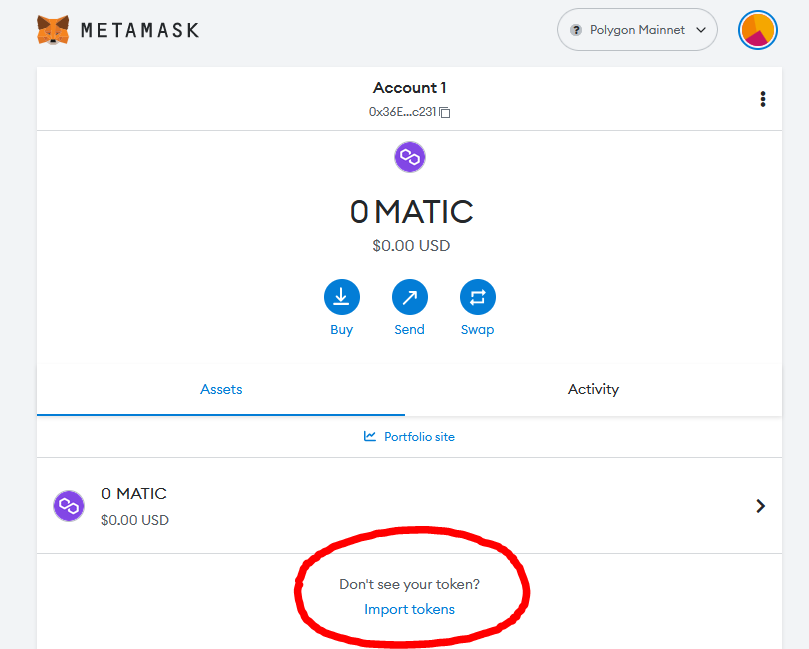
Option 1) Turning on Enhanced Token Detection (Preferred)
Metamask has a feature that can detect tokens in your wallet such as USDC on Polygon.
You can turn this on by going to your Metamask Settings -> Advanced -> "Enhanced token detection"
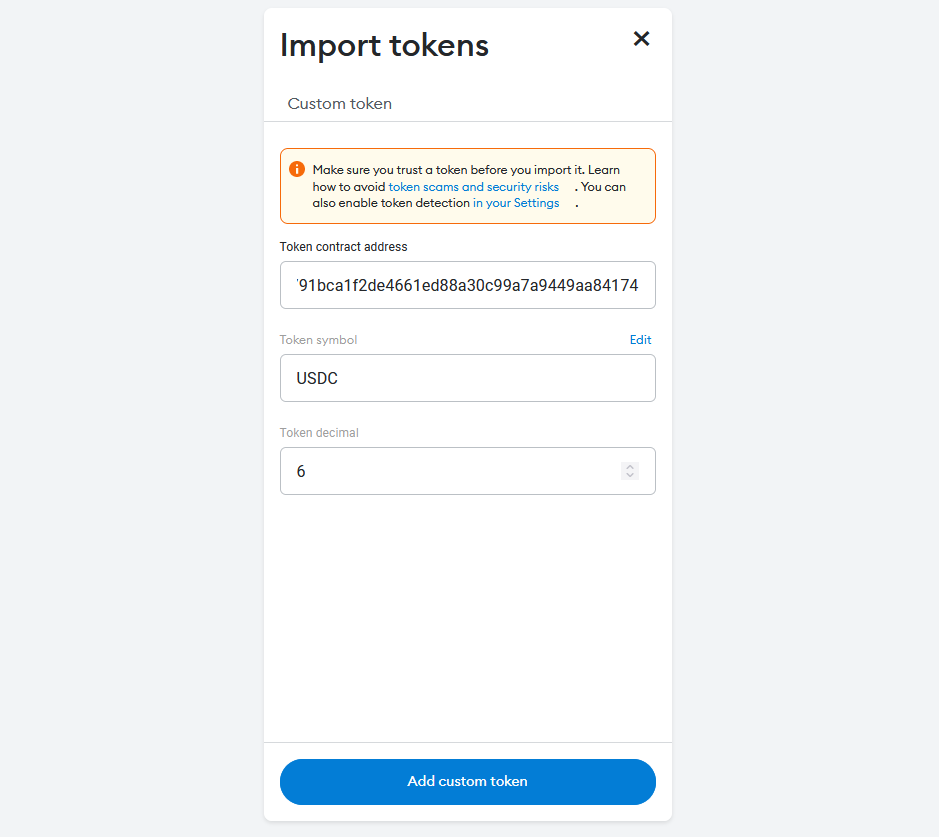
Option 2) Manually adding the token
If you're a pro, you can add the token yourself, here's how:
Fill in the following details:
- Contract Address: 0x3c499c542cef5e3811e1192ce70d8cc03d5c3359
- You can view this contract on Polygon Scan
All other details should auto-fill like so:
Step 2. Add Your Wallet to Stripe on CSFloat
These instructions differ depending on whether you've already onboarded with Stripe via CSFloat.
Option 1) Create a New Stripe Account
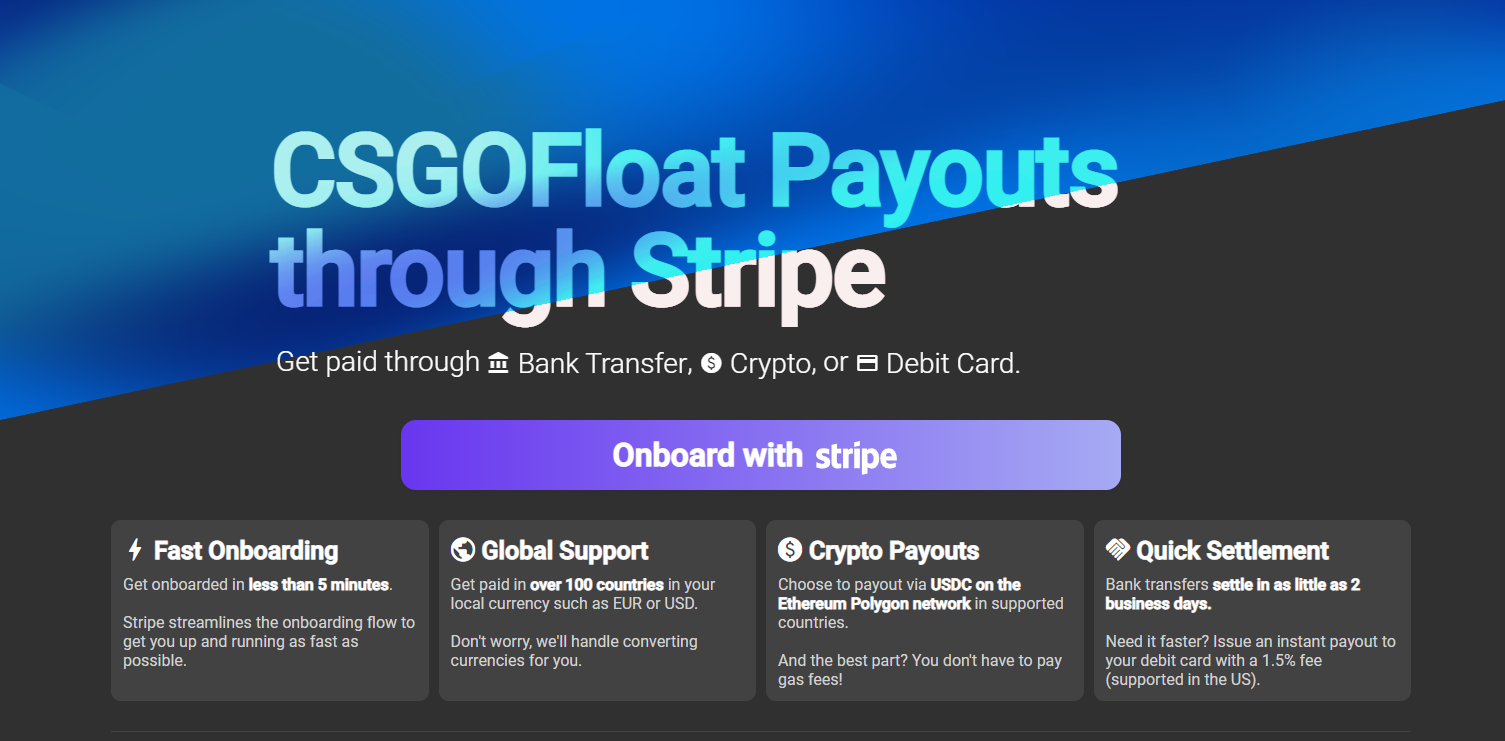
If you've never onboarded with Stripe via CSFloat, you can visit the withdraw page.
Click on "Onboard with Stripe" and confirm your region as shown here:
Afterwards, click on "Crypto Wallet", set your currency to "USD Coin" and network to "Polygon", then fill in your Polygon wallet address.

Don't see an option for crypto? Check that your country supports crypto payouts on our onboarding page.
Option 2) Add to existing Stripe account
Go to your CSFloat withdraw page and click "Visit Stripe Dashboard" at the top.
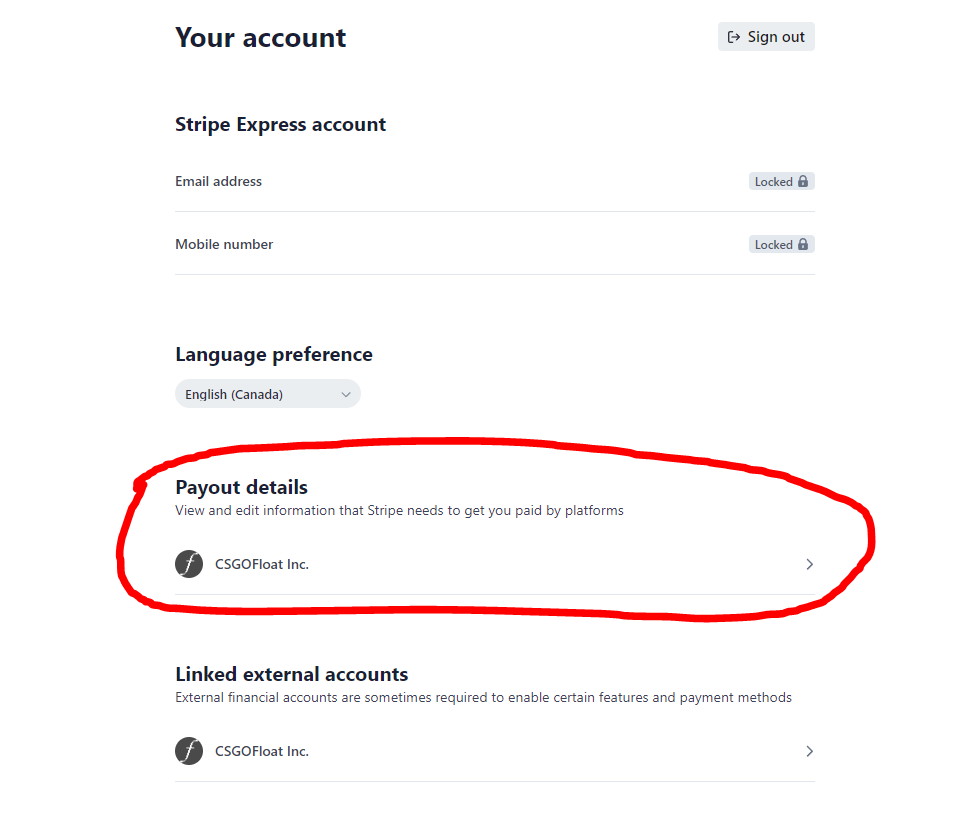
Afterwards, click on the account icon in the top right...
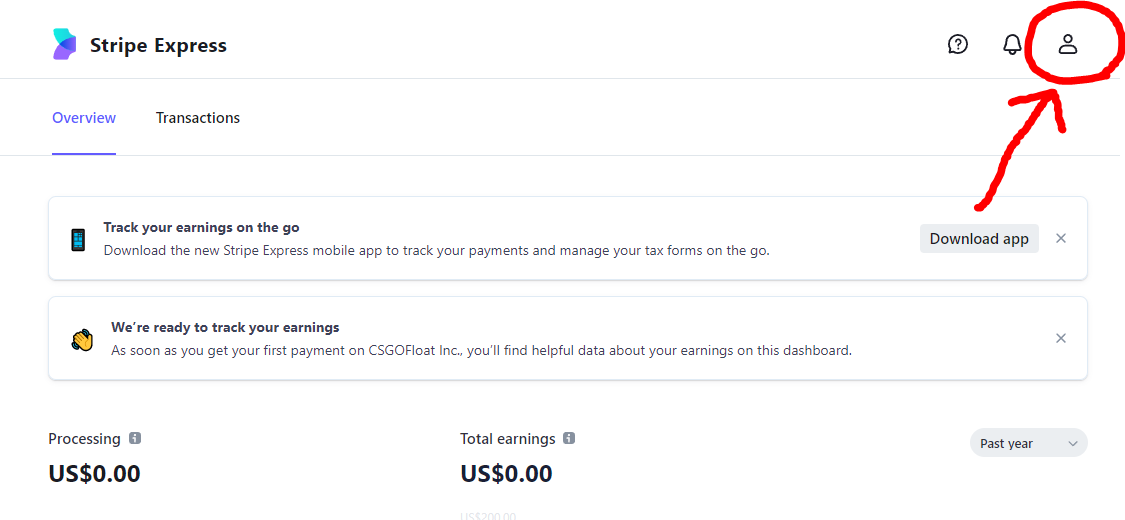
Then click "Payout Details" for CSFloat...
Click "Add Account" and enter your crypto wallet details.
Ensure you you set the currency to "USD Coin" and network to "Polygon".
Then fill in your wallet address from Step 1...
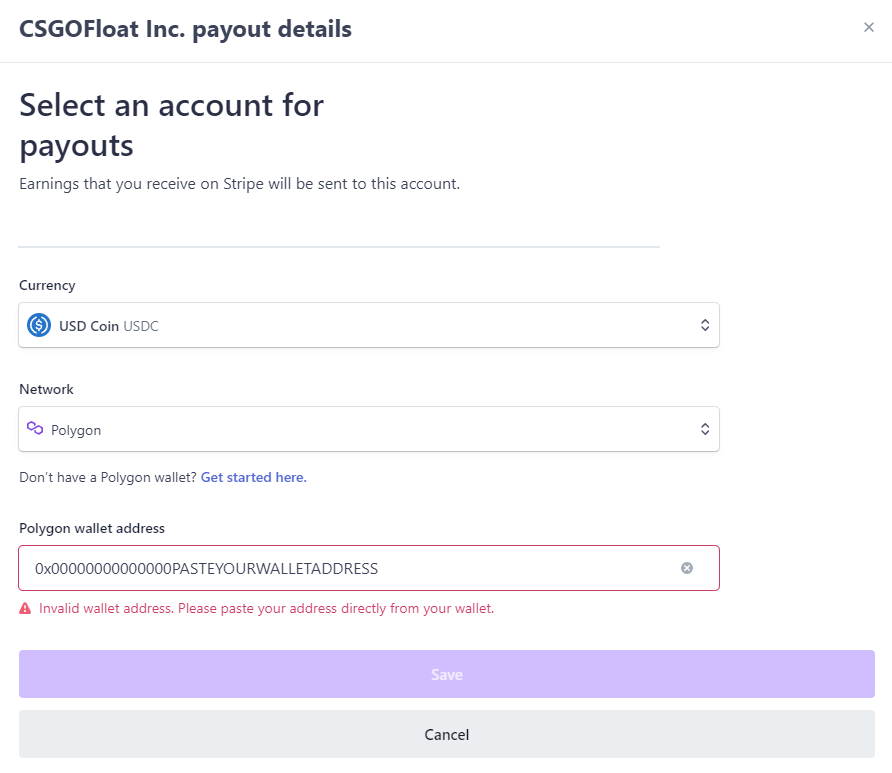
Don't see an option for crypto? Check that your country supports crypto payouts on our onboarding page.
Step 3. Withdraw on CSFloat
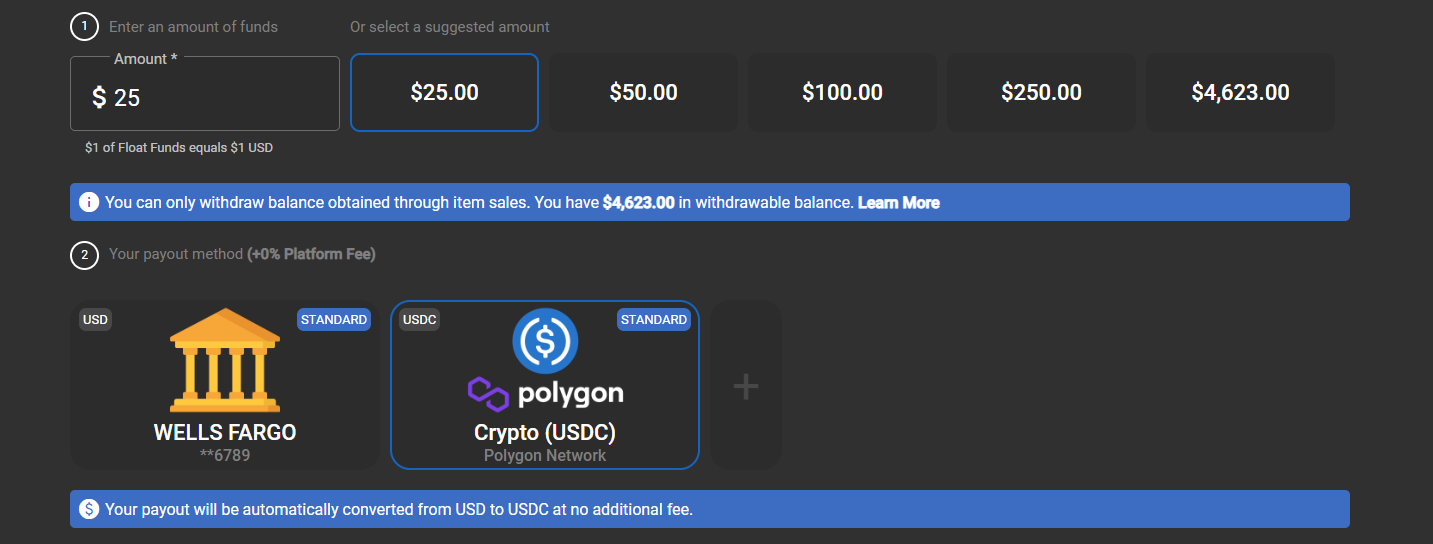
After you've made sales on CSFloat, you'll be able to withdraw your balance to your crypto account!
If you've followed the instructions correctly above, you should see "Crypto USDC" as an option to withdraw to on your CSFloat withdraw page.
Depending on your country of origin, you should receive the payout within a day -- you can use your Stripe dashboard to monitor when the payout has completed.
Step 4. Using the Funds
If you've deposited directly onto an exchange, you can use the exchange to convert/transfer the crypto.
If you've deposited into a self-custody wallet, you can send it to other Polygon wallet addresses or use the Polygon Wallet Bridge to convert it to native USDC ERC-20 on the ETH chain.